Tags
accessories, colorful accessories, DIY, DIY accessories, DIY headband, do it yourself, flower headband, hair accessories, hair wear, headband
You may remember a few weeks ago, I made earrings with rolled flowers. There are a lot of other things you can do with them. You can jazz up a plain t-shirt or make a necklace out of them. Today, I’m showing you how to make a headband.
In order to make a headband, you will need:
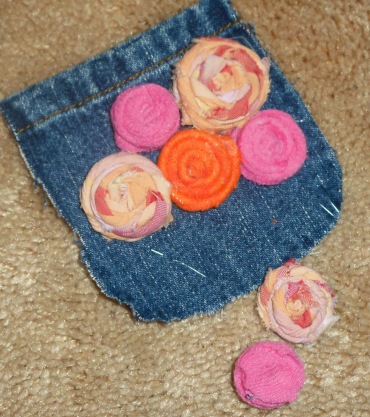
- Rolled flowers (see how here)
- Felt or sturdy fabric (I used denim)
- Skinny headband
- Glue gun
Lay all of your materials out, so everything is at your reach. With your glue gun, begin gluing the flowers to your piece of sturdy fabric.
Once you are done gluing the flowers to the fabric, let the piece sit for a minute or two for the glue to dry. Once the glue has set, cut the excess fabric around it.
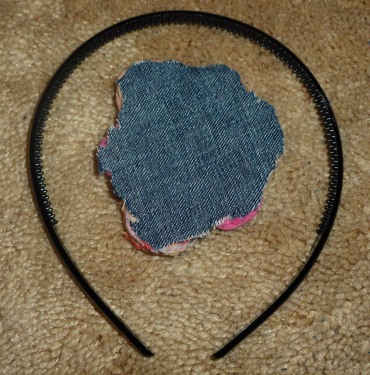
Grab your headband and the piece with the glued flowers.
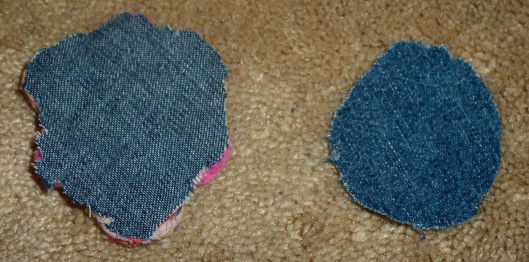
Take your second piece of fabric and cut it down a bit so that it is a little smaller than your glued flower piece. I cut mine into a circle because it seemed to work better that way.
Use your glue gun (of course, mine had to be pink) and place glue on half of the fabric. You will be gluing it to the back of the piece with the glued flowers.
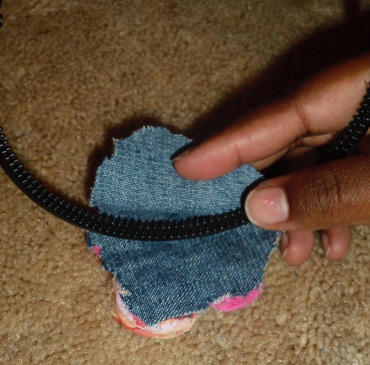
Once one side is glued to the back of the flower piece, place your headband in the center. Glue the other sides of the fabric together. Be sure not to glue close to the headband. Leave a little room so that the flower piece can move slightly on the headband.
This is what the two pieces glued together will look like with the headband in place.
Here’s the finished product. Feel free to cut the excess fabric, if it bothers you. (I ended up cutting off as much of the excess fabric as I could, just to make it look a little cleaner.)
Of course, I had to try out the headband. Looking cute, if I say so myself.
So, who’s willing to give this easy do-it-yourself headband a try? Send me pics!! I want to see how yours turns out.
– G
@seekyourbliss
@highlifesuite


